REVIEW · MELBOURNE
4 Hour Private Tour of Melbourne’s Iconic Highlights with Guide
Book on Viator →Operated by Marks Private Melbourne Tours · Bookable on Viator
Melbourne moves fast, but this tour keeps it simple. In just four hours, you’ll hit big-city icons, classic heritage buildings, and street-level color with a private guide and car. It’s built for groups too, since the same flat fee covers up to seven people.
I especially like the private guide format. You get a plan you can adapt, with a guide who brings context to what you’re seeing, not just a checklist. I also love the smooth logistics: hotel pickup and drop-off, plus transport by private vehicle, so you spend time looking at Melbourne instead of hunting parking.
One thing to consider: this is a jam-packed route. The stops are short, so if you want long stays in one place, you’ll need to tell the guide early and be realistic about what fits in four hours.
In This Review
- Key things to know before you go
- A Four-Hour Private Melbourne Highlights Circuit
- Meeting at Flinders Street and Getting Around Without Parking Headaches
- Stops 1–5: St Paul’s, Federation Square, Parliament, Royal Exhibition, Shrine
- Flinders Street Station, Port Phillip Bay Views, and Luna Park
- Hosier Lane Street Art and Brighton’s Famous Bathing Boxes
- Price and Value: Why $1,075.15 Can Make Sense
- The Guide Experience: Mark’s Style and a Pace That Works
- What to Bring and How to Prepare
- Who This Tour Fits Best
- Should You Book This 4-Hour Private Highlights Tour?
- FAQ
- What is the duration of the tour?
- How many people can be in a group?
- Does the tour include hotel pickup and drop-off?
- What attractions are included on the itinerary?
- What’s included and what’s not included?
- Is it worth booking if the weather changes?
Key things to know before you go
- Up to 7 people, one flat group fee: great value when you’re traveling with friends or family.
- Pickup and drop-off included: you start at Flinders Street, but you don’t have to get yourself there.
- A heritage-to-seaside route: cathedrals, parliament, a UNESCO exhibition hall, then St Kilda and the bay.
- Hosier Lane street art in a short window: expect a quick but memorable hit of Melbourne’s mural lane.
- Brighton Bathing Boxes are included: 20 minutes there, with entry covered.
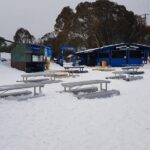
- All-weather friendly: the tour runs in all weather, so dress for whatever you get.
A Four-Hour Private Melbourne Highlights Circuit
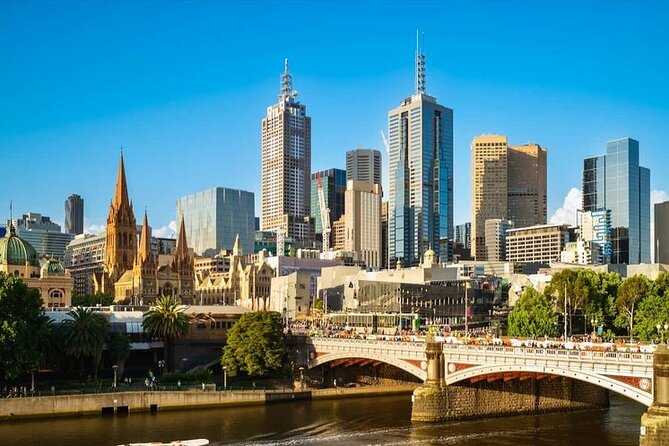
This is the kind of tour that helps you get your bearings fast. You’ll see a concentrated sweep of Melbourne’s key identities: grand civic buildings, war memorial perspective, world-famous street art, and a postcard-perfect beach set that looks almost too cheerful to be real.
The private setup matters. In a shared tour, you’re stuck with other people’s pace. Here, you’re in charge of the general direction, and the guide can fine-tune the emphasis as you go—especially useful if your group is split between history lovers and photo hunters.
And because it’s only about four hours, it works even if your Melbourne schedule is tight. It’s also a smart first-timer move when you want landmarks as anchors, then you can come back later for deeper explorations on your own.
You can also read our reviews of more guided tours in Melbourne

Meeting at Flinders Street and Getting Around Without Parking Headaches
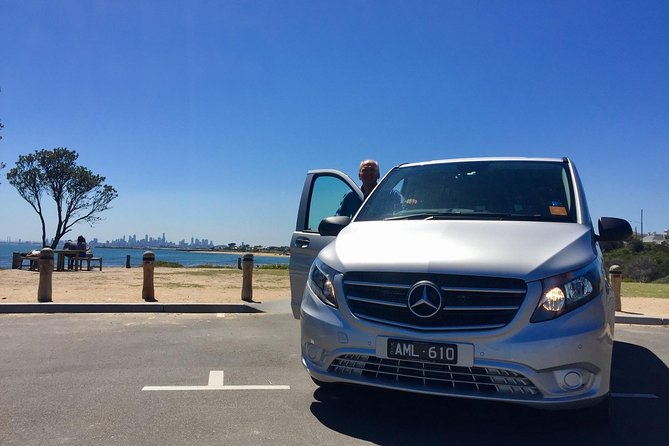
The tour starts at Flinders Street and is designed to end back at the same meeting point. If you’re getting pickup, you’ll avoid the hassle of figuring out where to meet once you arrive.
Transport is by private vehicle, and the experience includes bottled water. In practice, that’s a small comfort that makes a short day feel easier—especially if you’re coming straight from breakfast plans.
A standout detail from the guide experience is how the day is run. One review specifically noted there was a separate driver, which means you’re not constantly losing time when the car needs to reposition or park. That keeps the flow tight, and it helps you actually enjoy the stops instead of watching the minutes slip by.
Stops 1–5: St Paul’s, Federation Square, Parliament, Royal Exhibition, Shrine
This first half is about Melbourne’s “official faces”—the buildings that tell you how the city grew up.
St Paul’s Cathedral (about 15 minutes, free)
St Paul’s sits on a hill and dominates the view, built from bluestone and rooted in the 1890s. In a short stop, you’re not going deep into a museum visit. You’re getting the big picture: Melbourne’s religious heritage and the city’s stone-and-steel architectural tone.
It’s worth taking a few minutes to look at how the building sits against the surrounding streets. Even if you’re not a cathedral person, it’s one of those places that helps you understand the city’s long timeline.
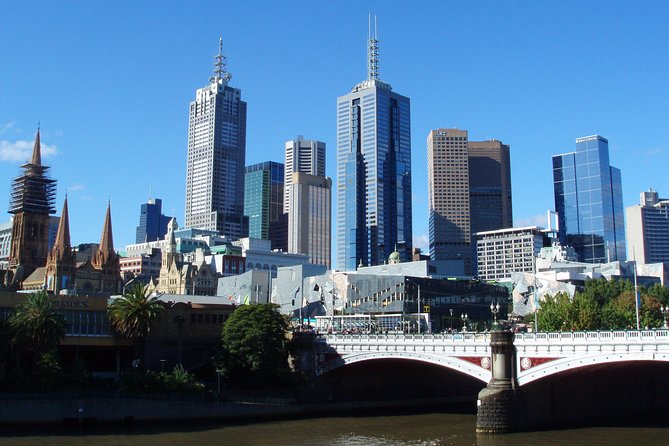
Federation Square (about 15 minutes, free)
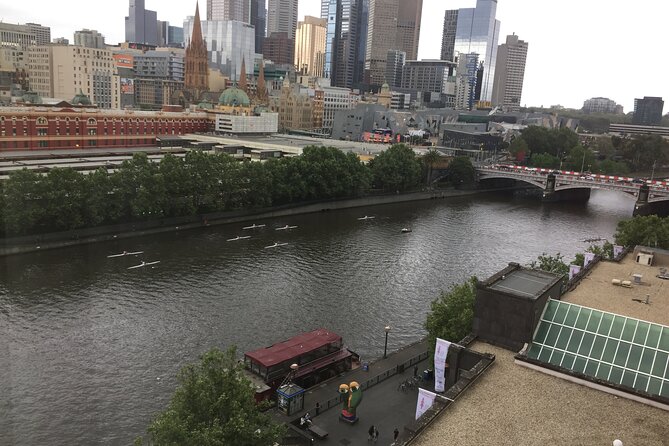
Federation Square is near the Yarra River, and it’s often where people feel Melbourne’s current identity most strongly. This stop is about orientation—getting a feel for where you are in the city and how the river corridor frames movement.
If you like city scenes with people-watching energy, this is a good place to pause. If your group is more “quiet photos only,” it still works because you can keep it short and move on.
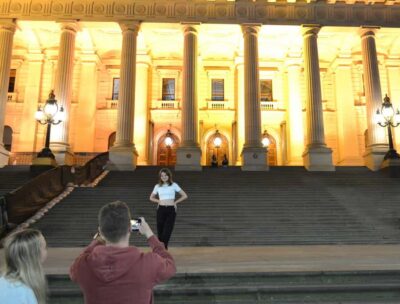
Parliament House of Victoria (about 5 minutes, free)
This is a quick look at state power and civic layout. The time here is brief, so treat it like a photo and context stop rather than a long exploration. You’ll also get a feel for Bourke Street nearby—the shopping spine many visitors use as a reference point.
If you’re the type who wants to stand and read every sign, you may wish the stop were longer. For most people, though, five minutes is just right for capturing the shape of the place.
Royal Exhibition Building (about 15 minutes, free)
This UNESCO-listed hall is from the booming 1880s. In a short timeframe, it’s one of the best ways to see Melbourne’s 19th-century ambition without needing a whole day devoted to a single attraction.
What I like about this stop is that it adds variety. You move from modern civic space to a building that feels like the city’s growth story made stone.
Shrine of Remembrance (about 20 minutes, free)
The Shrine gives you a different Melbourne angle—both literally and emotionally. It’s a war memorial, and it also offers views across the skyline.
This is where you’ll want to slow down for a moment. Even in a short tour, the view helps you connect the city’s monuments to the broader geography. It’s also a great “pause” stop if your group has been moving quickly.
One note on pace: by the time you reach here, the day is already flowing. The guide tone can make a big difference, and reviews point to a guide who shares plenty of context while keeping things understandable.
Flinders Street Station, Port Phillip Bay Views, and Luna Park
After the memorial and skyline outlook, the route shifts toward classic Melbourne icons and then into seaside territory.
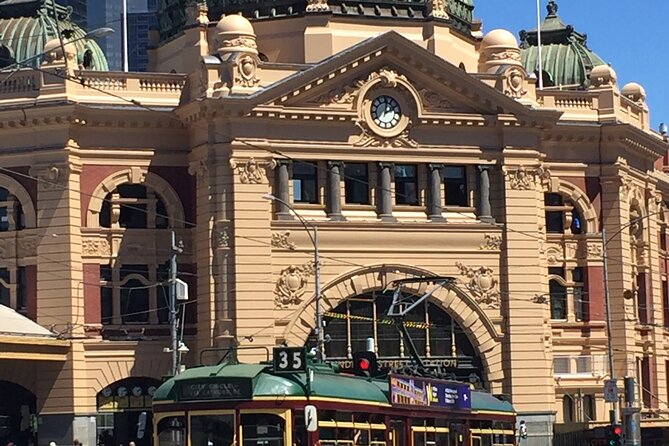
Flinders Street Station (about 10 minutes, free)
This is one of the city’s most recognizable spots, famous for its clock faces. In only ten minutes, you’re not doing a full transit-architecture deep dive. You’re capturing the image everyone pictures when they think of Melbourne.
If you time it well, you can get great photos with street life in the background. If it’s crowded, the guide can help you pick a quick angle so you still feel like you got something.
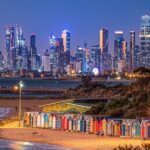
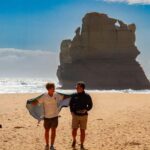
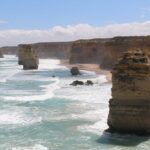
Views across Port Phillip Bay
The tour includes a bay-view segment, which is a nice contrast after the city core. Even if you only get a short look, it gives your brain a new reference point: Melbourne isn’t only downtown towers; it’s also water and coastal energy.
Luna Park Melbourne / St Kilda area (about 10 minutes, free)
Luna Park brings a playful seaside contrast to all the stone-and-parliament stops. This is where the tour leans into the “quirky” side of Melbourne—especially if your idea of a great trip includes color, nostalgia, and a bit of fun.
The time is short, so you’ll mainly be snapping photos and getting a quick feel for the St Kilda vibe rather than doing a full amusement park day.
Hosier Lane Street Art and Brighton’s Famous Bathing Boxes
This last chunk is where Melbourne feels most like Melbourne—creative street energy plus a very visual, very Australian beach tradition.
Hosier Lane (about 10 minutes, free)
Hosier Lane is the street art mural lane that draws people from around the world. In ten minutes, you won’t see everything. But you will get the main idea: Melbourne’s street-level creativity, constantly changing, painted directly into the everyday city texture.
A useful tip: if the art is crowded or blocked from your preferred angle, don’t fight for one exact photo. Melbourne street art is all about different layers, so moving two steps can totally change the look.
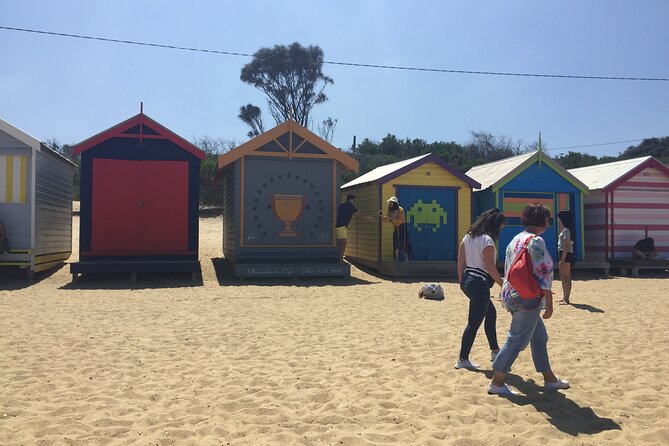
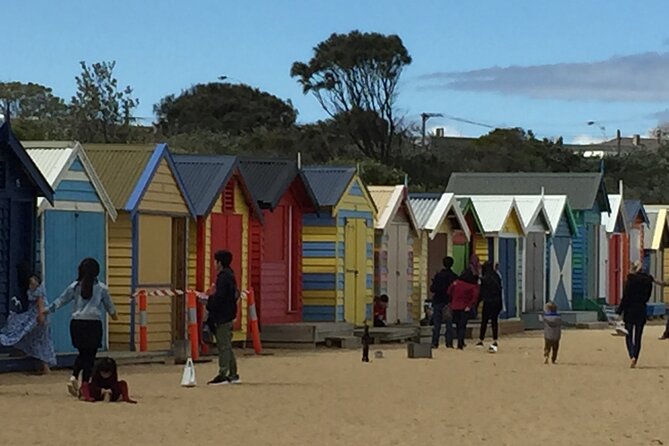
Brighton Bathing Boxes (about 20 minutes, included)
Now for one of the most photogenic stops on the route: the brightly colored bathing boxes along the beach at Brighton. The tour includes this stop, and you get a longer window here—enough time to walk along, compare box designs, and enjoy the concept rather than just passing through.
I like that this stop gives you a break from dense downtown architecture. It’s a visual palette cleanser, and it’s simple to enjoy even if your group has mixed interests.
You can also read our reviews of more private tours in Melbourne


Price and Value: Why $1,075.15 Can Make Sense
The price is $1,075.15 per group, up to seven passengers. That’s a big number if you’re traveling solo or as a couple. But if you split it across a group, it turns into a reasonable way to cover a lot of ground in a short window.
The real value isn’t only the math. It’s what you buy with private time:
- You avoid the friction of getting yourself between far-flung areas.
- Your guide can shape the emphasis so the day fits your interests.
- You get a tight sequence of high-impact stops without wasting hours on transit.
Also, the tour is often booked about 40 days in advance. That tells me it’s popular for good reason: if your dates are fixed, it helps to lock it in early so you’re not scrambling.
If you’re a solo traveler, you might decide this is more than you need. But if you’re a family group, a small friend group, or anyone who wants to move as a unit, this is the kind of private tour that can feel like a smart bargain.
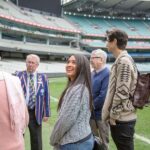
The Guide Experience: Mark’s Style and a Pace That Works
The guide name shows up in the feedback, with Mark credited as the guide in multiple high-rating accounts. That matters because you’re not just buying a car and a route—you’re buying how the day feels.
From the reviews, the strongest pattern is clarity and responsiveness. People talk about detailed information, politeness, and the guide working with the group to choose sites they wanted to see. One review also noted the guide spoke slowly enough for everyone to follow comfortably, which is a small detail that can hugely affect how much you enjoy a tour.
Another repeat theme: efficiency. One review called out the setup with a separate driver, which reduced dead time. That’s exactly what you want on a short, packed day. Less waiting around, more time actually seeing the places you came for.
What you’ll want to do: have one or two must-see priorities in mind before pickup. If you’re flexible, you’ll likely enjoy the day more. If you have strong opinions across multiple preferences, tell the guide early so they can shape the route while you’re still in the planning window.
What to Bring and How to Prepare

The tour runs in all weather, so dress for the day you get. That’s not a throwaway line—Melbourne weather can shift, and a four-hour outdoor-and-photo day will feel better if you’re prepared.
Bring:
- A jacket you can handle in changing conditions
- Comfortable walking shoes
- A camera or phone with enough space for street art and seaside photos
Also, since food and drinks aren’t included unless specified, plan a meal before or after. This schedule is short enough that you’ll likely want to grab something nearby at your own pace rather than trying to fit food into the gaps.
Who This Tour Fits Best
This tour is a strong match if you want:
- A first look at Melbourne with major highlights
- A private guide who adds context and adjusts within reason
- A group setup where splitting the flat fee makes sense
It also fits well if you’re balancing interests. The route mixes civic buildings, a war memorial viewpoint, street art, and Brighton beach color. That means everyone usually finds something they like.
If you’re the type who loves long stays—say, you want to linger for an hour inside one place—this may feel too fast. But if your goal is to cover a lot without stress, it’s built for that exact mindset.
Should You Book This 4-Hour Private Highlights Tour?
I’d book this if you’re traveling with up to seven people and you want a guided hit of Melbourne that’s organized, efficient, and easy to understand. The combination of pickup, private vehicle transport, and a guide-led sequence through iconic landmarks is a practical way to see more city in less time.
I’d think twice if you’re solo and only interested in one or two specific stops. In that case, the group pricing can feel steep. And if you hate fast pacing, the short stop windows might not fit your style.
If you want a balanced day that gives you landmarks plus street-level color, this is a solid choice.
FAQ
What is the duration of the tour?
The tour lasts about 4 hours.
How many people can be in a group?
The flat fee covers up to 7 passengers.
Does the tour include hotel pickup and drop-off?
Yes, hotel pickup and drop-off are included.
What attractions are included on the itinerary?
The tour includes stops such as St Paul’s Cathedral, Federation Square, Parliament House of Victoria, the Royal Exhibition Building, the Shrine of Remembrance, Flinders Street Station, Luna Park, Hosier Lane, and Brighton Bathing Boxes. It also includes views across Port Phillip Bay.
What’s included and what’s not included?
Included items are the local guide, hotel pickup and drop-off, transport by private vehicle, and bottled water. Food and drinks are not included unless specified.
Is it worth booking if the weather changes?
The tour operates in all weather conditions, and you should dress appropriately for the conditions.