REVIEW · MELBOURNE
From Melbourne: 12 Apostles & Great Ocean Road Private Tour
Book on GetYourGuide →Operated by Achamp Adventures · Bookable on GetYourGuide
Twelve Apostles without the driving stress. This private Great Ocean Road day tour links Melbourne to iconic coast stops with easy hotel pickup and drop-off, plus the kind of small-group pace that lets you actually enjoy the views.
What I like most is the mix of wildlife and scenery: you get a real shot at wild koalas and colorful parrots at Kennett River, and you also spend time where the coast hits its peak at the Twelve Apostles. One thing to consider up front: no food, snacks, or drinks are included, so you’ll want to plan your own energy for a full ~12-hour day.
In This Review
- Key highlights worth waking up for
- A private Great Ocean Road day from Melbourne, done the easy way
- Split Point Lighthouse and Eastern View: starting with wide-angle coastal views
- Kennett River and Marriner’s Lookout: the wildlife stop plus a major view break
- Apollo Bay and Gibson Steps: a break for your legs and your eyes
- The Twelve Apostles: how to enjoy the icons without rushing
- Loch Ard Gorge and The Razorback: going beyond the postcard stops
- Comfort, group size, and the small details that matter
- Price and value: is $573 per group worth it?
- What to bring and how to pace yourself on a ~12-hour loop
- Should you book this private Great Ocean Road tour?
- FAQ
- How long is the private Great Ocean Road and Twelve Apostles tour?
- Where do you get picked up and dropped off in Melbourne?
- What languages does the live guide speak?
- Are meals, snacks, or drinks included?
- Is the tour wheelchair accessible?
- Is alcohol allowed during the tour?
Key highlights worth waking up for
- Split Point Lighthouse: quick tour time with panoramic lookouts
- Kennett River wildlife: a focused stop for koalas and parrots
- Gibson Steps: a classic descent viewpoint over the cliffs
- Twelve Apostles time: guided viewing with time to pause and photograph
- Loch Ard Gorge and The Razorback: dramatic rock formations beyond the main postcard spots
- Guides who run the day smoothly: from Leo to Dickson to Jimmy, the focus stays on comfort and timing
A private Great Ocean Road day from Melbourne, done the easy way
This tour is built for the days when you want the Great Ocean Road without turning your trip into a long self-guided road trip. You’re picked up from selected locations in Melbourne (CBD) and dropped back in the same area, so the logistics don’t steal your attention from the coast.
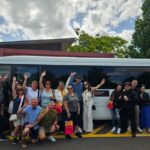
You’re also not stuck in a huge crowd. It runs as a private or small group setup in an air-conditioned vehicle, which matters because the route is long and the stops are spread out. The guide is with you all day, so you’re not just collecting scenery—you get direction on where to stand, when to look, and how to make the most of each viewpoint.
The vibe is relaxed but intentional. Even in tough weather, it’s clear the guide’s job is to keep you seeing the coast as much as conditions allow, and that kind of calm leadership shows up in the experience people mention, from guides like Dickson to Michael Yung.
You can also read our reviews of more private tours in Melbourne

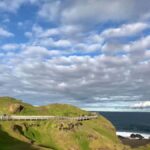
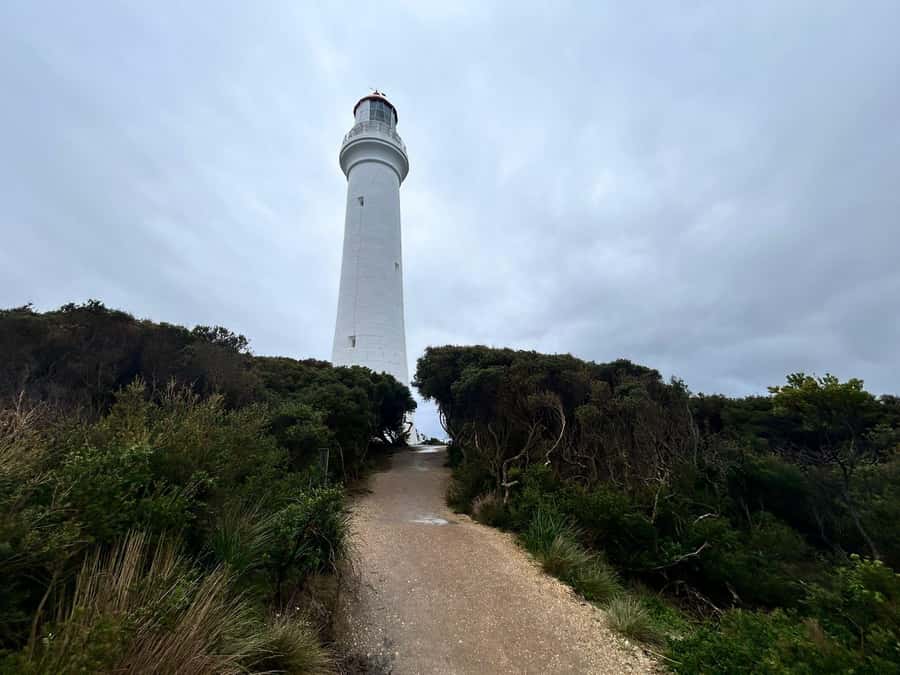
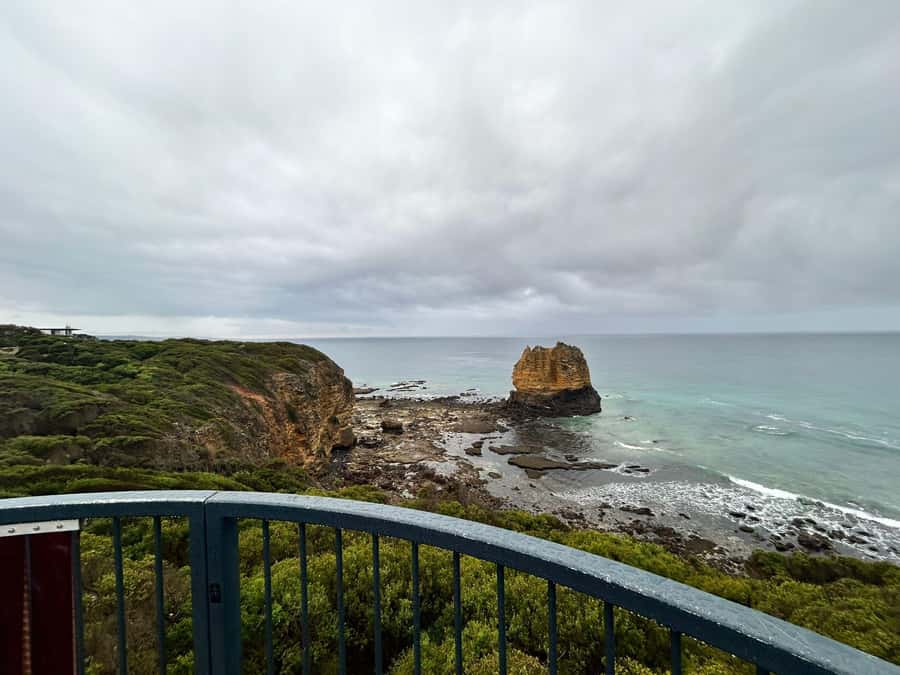
Split Point Lighthouse and Eastern View: starting with wide-angle coastal views
Early in the day you’ll hit Split Point Lighthouse, with about 30 minutes for sightseeing. This is a strong opener because you get elevated perspective right away. It’s the kind of stop that helps you understand the geography of the coast—what’s cliffs, what’s ocean, and where the bigger rock formations will fit into the bigger picture.
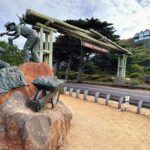
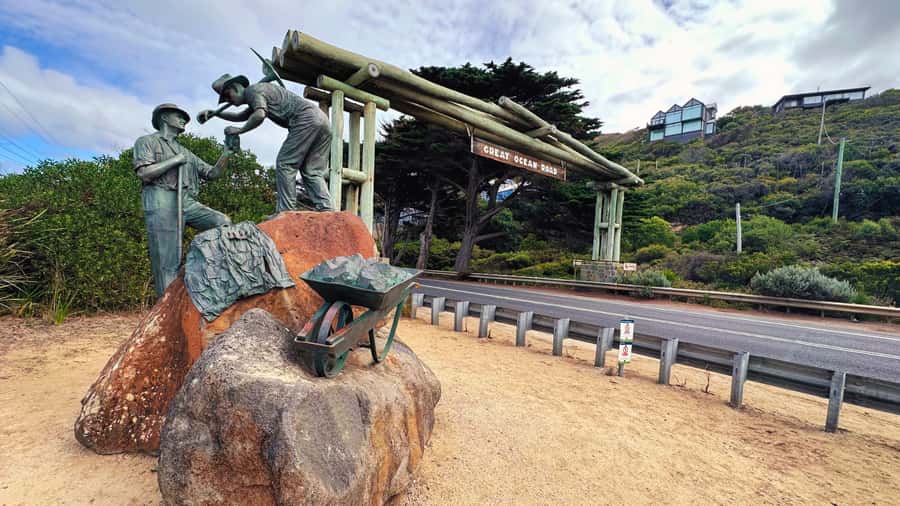
Then you’ll move to the Memorial Arch at Eastern View for a shorter stop (around 10 minutes). It’s not the longest photo break, but it anchors the road’s coastal story and gives you a quick orientation moment before the trip gets more focused on specific lookouts.
If you’re the type who likes to build momentum—getting your bearings fast, snapping a few early photos, and then settling into the slower viewpoints—this is a smart early sequence. Just remember this is a full-day loop, so even the short stops add up.
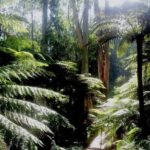
Kennett River and Marriner’s Lookout: the wildlife stop plus a major view break
Kennett River is where you slow down and look for living souvenirs: wild koalas and colorful parrots. This stop clocks in around 30 minutes, which is enough time to scan carefully without feeling stuck. If you want wildlife on your Great Ocean Road day (not just rock stacks), this is one of the best-value segments.
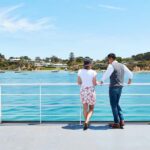
Then you’ll head to Marriner’s Lookout for another viewing block (around 30 minutes). This is one of those stops that feels simple until you’re standing there. The cliffs and ocean energy are the star, and your guide’s role is to point you toward the best angle and walking route for the moment you’re in.
A practical tip: bring your patience and your camera settings. You’ll want to be ready to shoot quickly, because the best moments can be short when weather shifts or when there’s wind. A calm guide helps a lot here—people mention smooth driving and friendly guidance, and that matters when you’re hopping between viewpoints.
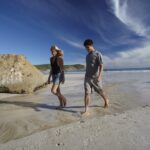
Apollo Bay and Gibson Steps: a break for your legs and your eyes
Around mid-day you’ll reach Apollo Bay, with about an hour to sightseeing. This stop is valuable because it breaks the long run between lookouts. Apollo Bay gives you breathing room—time to stretch, take a slower walk, and reset before the coast turns more dramatic again.
From there, you’ll go to Gibson Steps (about 30 minutes). This is a viewpoint-focused stop where the goal is to get that closer coastal angle and take in the cliff-to-beach drama. The name might sound like just another stop, but it’s one of the best ways to experience the scale of the coast without spending all day locked behind glass and fences.
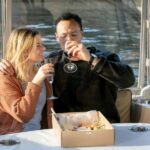
This is also where your planning pays off. Since meals and snacks aren’t included, you may want to use Apollo Bay time to buy something simple (a snack, a drink, even just water) so you don’t hit the last stretch feeling flat. The day is long, and the viewpoints don’t wait.
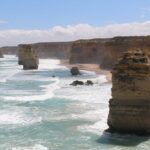
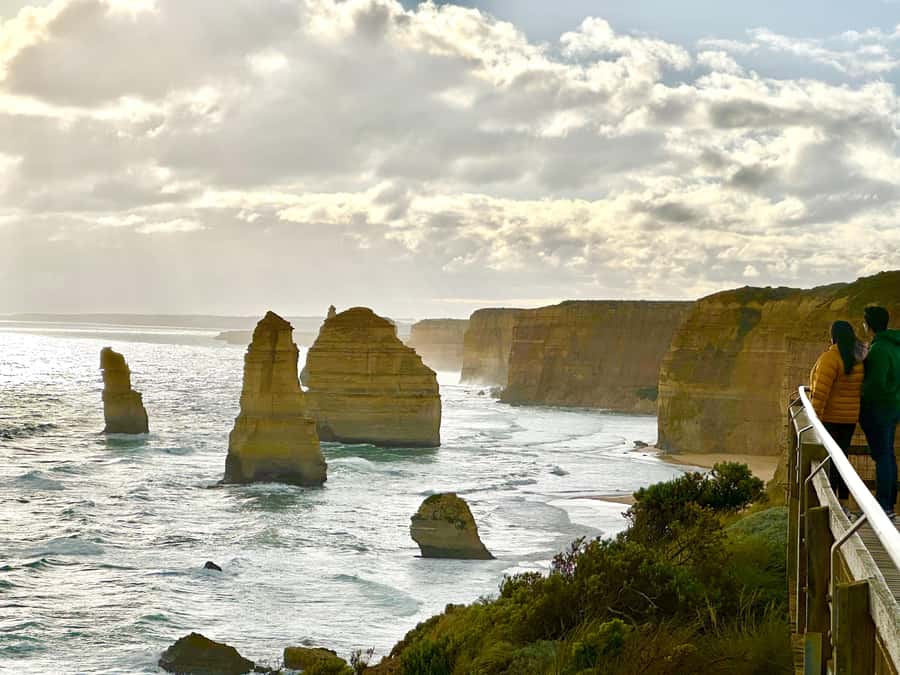
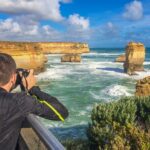
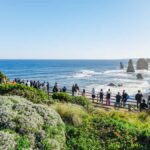
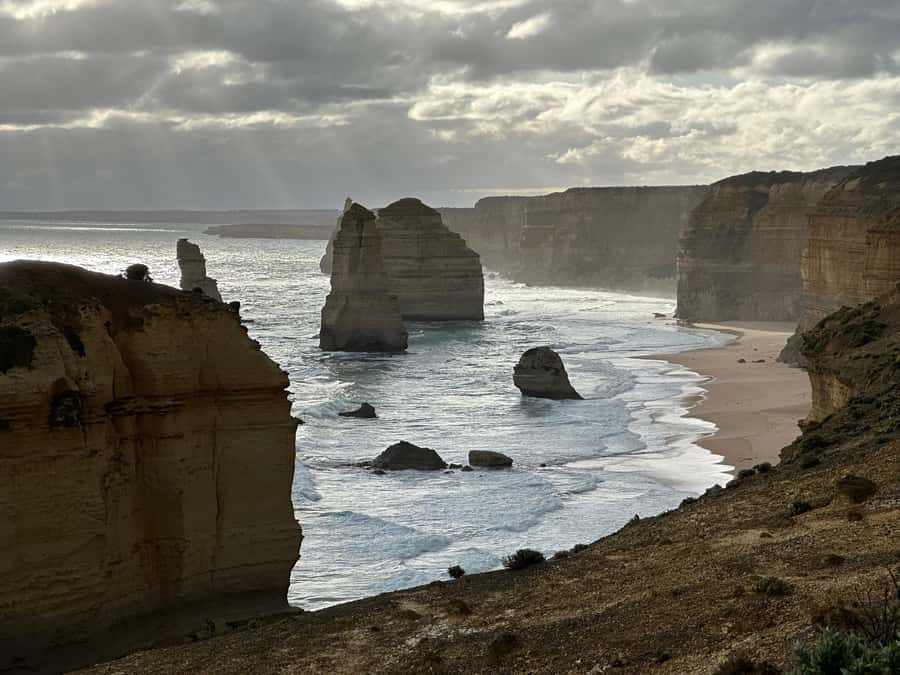
The Twelve Apostles: how to enjoy the icons without rushing
The heart of the trip is The Twelve Apostles (around 45 minutes). This is where the limestone stacks do their job, even if you’ve seen photos already. In person, the distance and texture are the shock. It’s one of those scenes that makes you pause for a full minute even if you normally don’t.
With a guide, you’re not just left to figure it out on your own. You can spend your time where it actually makes sense to stand, and you can take photos with less backtracking. People often praise how the day feels personalized and smooth, including comments about punctuality and excellent driving from guides like Dickson.
One more smart move: if the weather is changeable, you’ll appreciate having someone who understands timing and keeps the day moving. There’s at least one mention of how a guide made sure views were still good despite heavy rain—proof that the guide’s attitude can genuinely affect your experience.

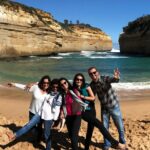

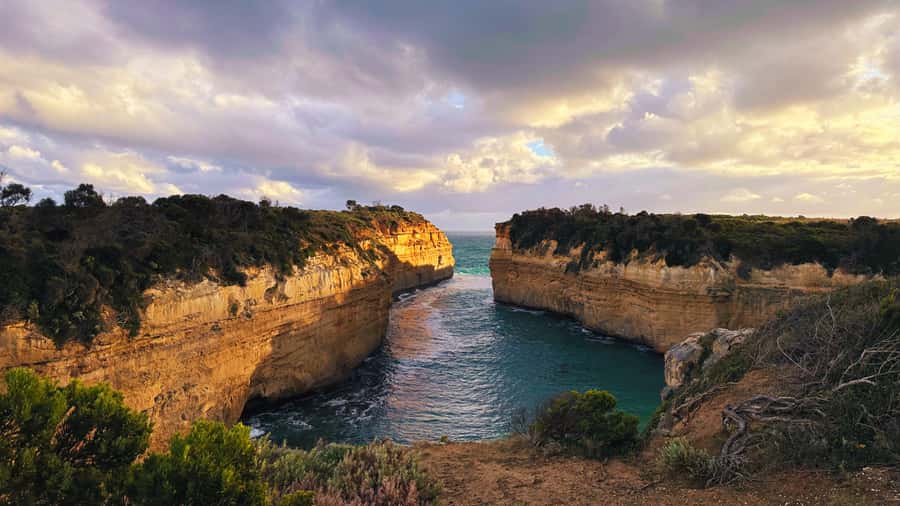
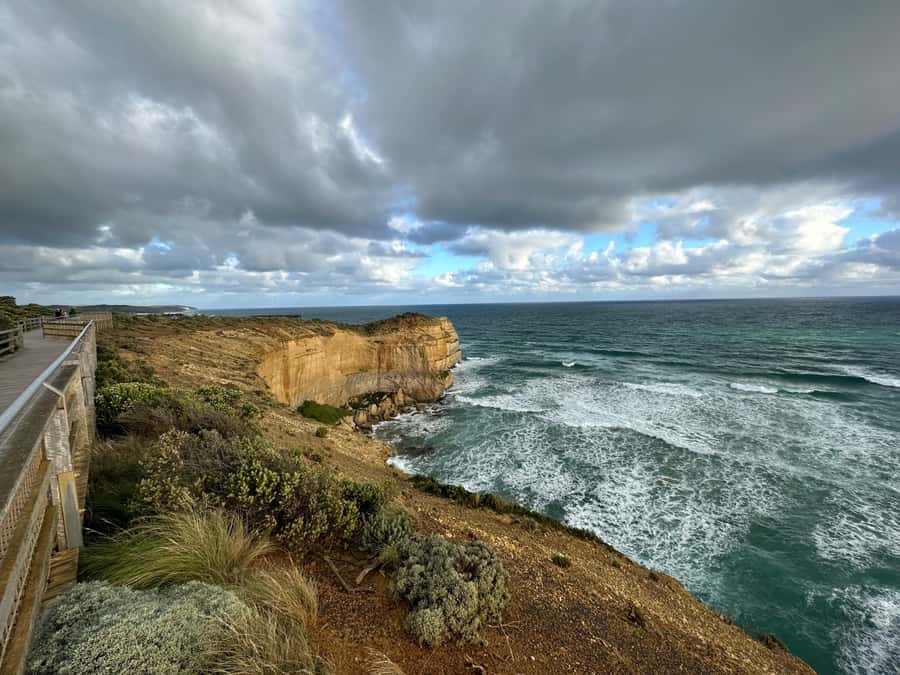
Loch Ard Gorge and The Razorback: going beyond the postcard stops
Next is Loch Ard Gorge (about 30 minutes), with time to see the dramatic formations and viewpoints. This is where the tour earns its keep if you’ve already seen basic Great Ocean Road images. You get more texture: layered rock shapes, angles that look different from multiple viewpoints, and that wild-feeling feeling of being close to raw coastline forces.
The route also includes time connected to The Razorback and rock-canyon-style scenery as part of this stretch. You won’t feel like you’re doing the same viewpoint three times in a row. Instead, it’s more like a sequence of angles, each one changing the story of what you’re looking at.
If you’re thinking about what to prioritize with limited time, here’s how I’d weigh it:
- Twelve Apostles for the main payoff and big photos
- Loch Ard Gorge for the drama and variety after the icons
- The earlier lookouts for context, so the limestone doesn’t feel random
A short note on expectations: you’ll move between stops, so you won’t linger for hours. The value is in the full-day coverage without the stress of driving.
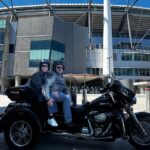
Comfort, group size, and the small details that matter
A lot of Great Ocean Road days go one of two ways: either you’re driving and stressed, or you’re in a large group and constantly waiting. This tour tries to give you the best of both worlds with a private or small group setup and an air-conditioned vehicle.
Also, the guide isn’t only there for directions. The day benefits from a guide who’s paying attention to pacing and comfort. You’ll see this in the way people describe guides by name—Leo, Dickson, Jimmy, Michael Yung—plus comments about punctuality, polite service, and keeping the day running smoothly from start to finish.
A small practical point: service animals are welcome. And while that’s good to know, it’s also important to understand the rules of the road for everyone’s safety. Alcohol and drugs aren’t allowed, and alcoholic drinks aren’t permitted in the vehicle. If you want to bring a special treat, do it within the rules and plan for non-alcoholic options.
And one more practical note: the tour isn’t wheelchair accessible. Non-folding wheelchairs and electric wheelchairs aren’t allowed. If accessibility is a factor for your group, it’s worth confirming suitability early.
Price and value: is $573 per group worth it?
The price is $573 per group, up to four people, and that changes the math fast depending on your travel style. If you’re traveling as a family or two couples, you can treat this like a shared cost for a full-day itinerary that would otherwise take real effort to plan and drive.
Here’s what you’re buying with the price:
- Hotel pickup and drop-off from Melbourne CBD
- A guide who manages the timing and keeps you moving
- An efficient day built around major viewpoints and a few extra stops
- A comfortable vehicle for a long day
- The “private feel” that makes the experience calmer than cattle-call tours
Where private tours can lose value is when you only have one person and you’re paying for empty seats. But for a small group, the cost can feel more reasonable because you’re not paying per viewpoint or per driver hour. In other words, you’re paying for convenience plus guidance, not just the right photos.
Also, the flexibility bit is real: the itinerary can be customizable with the option to start or end early upon request. That matters if you’re trying to sync with other plans in Melbourne.
What to bring and how to pace yourself on a ~12-hour loop
This is a full-day outing, around 12 hours, and the stops are spread out enough that you’ll want to think like a marathoner, not a sprinter. Since foods, snacks, and drinks aren’t included, plan your own basics: water, a snack, and anything you need to stay comfortable for the later stops.
Weather is another reason to pack smart. Coastal conditions can shift quickly. Even if you’re expecting clear views, a calm layer strategy helps because you might go from sun to wind to cool damp air. Your guide can’t control the weather, but a good one can help you find the best angles when it changes.
Finally, think about your photo habits. The tour gives you multiple viewpoint moments, but the time at each is limited. If you want the best chance of great shots, aim to arrive ready—camera ready, lens wiped, and feet in position—so you’re not spending the prime minute fiddling.
Should you book this private Great Ocean Road tour?
I’d book it if you want a stress-free Great Ocean Road day with the icons plus extra time at key coastal stops, and you care about having a guide manage the flow so you can focus on what you came for. It’s especially appealing for families and small groups because the price is per group up to four, and the day feels personal in the way it’s driven and paced.
Skip it or rethink it if you’re counting on included meals and drinks (you’ll need to bring or buy your own), or if accessibility needs in your party are significant, since the tour isn’t wheelchair accessible and certain wheelchair types aren’t allowed.
If your top goal is easy convenience from Melbourne with a smooth, guided route to Split Point Lighthouse, Kennett River, the Twelve Apostles, and Loch Ard Gorge, then this tour is a strong fit.
FAQ
How long is the private Great Ocean Road and Twelve Apostles tour?
It runs for about 12 hours for a full-day experience.
Where do you get picked up and dropped off in Melbourne?
Pickup options are in Melbourne CBD, and the tour also drops you back in Melbourne CBD.
What languages does the live guide speak?
The live tour guide speaks English and Chinese.
Are meals, snacks, or drinks included?
No. Foods, snacks, and drinks are not included.
Is the tour wheelchair accessible?
No, it’s not wheelchair accessible at this time. Non-folding wheelchairs and electric wheelchairs are not allowed.
Is alcohol allowed during the tour?
Alcohol and drugs aren’t allowed, and alcoholic drinks are not permitted in the vehicle.