REVIEW · MELBOURNE
Melbourne: Great Ocean Road Adventure with Iconic Stops
Book on GetYourGuide →Operated by AZB TOURIST PTY LTD · Bookable on GetYourGuide
A coast road worth waking up for. This full-day Great Ocean Road run mixes big-name views with a couple of smaller moments that feel more human.
I especially like how the day starts with Split Point Lighthouse and keeps rolling into the famous limestone drama at the Twelve Apostles. It’s a lot of coast, but it never feels like you’re stuck in one place.
Two things I like a lot: the stops are timed for photos without feeling completely frantic, and the driver-guide format (English/Mandarin) keeps the story moving as you travel.
One consideration: you’re on the clock. The main viewpoints are amazing, but you won’t have hours to wander every path like you would on a self-drive day.
In This Review
- Key tour takeaways
- Road Trip Rhythm: Picking Up in Melbourne and Settling In
- Split Point Lighthouse and the Memorial Arch: The Start That Sets the Tone
- Lorne Photo Stop and Apollo Bay Lunch Hour: Coast Views Plus a Real Break
- Barham Paradise Scenic Reserve: Eucalyptus, Wildlife, and Koala Chances
- Twelve Apostles and Loch Ard Gorge: Your Main Photo Stretch
- Winchelsea Refresh and the 3.5-Hour Return Drive to Melbourne
- Price and Logistics: What $28 Gives You (and What It Doesn’t)
- Driver-Guide Energy: Why the Day Feels Easy
- Who Should Book This Great Ocean Road Day Trip
- Should You Book It or DIY the Coast?
- FAQ
- FAQ
- How long is the Great Ocean Road adventure?
- Where are the pickup locations in Melbourne?
- What’s included in the tour price?
- Is lunch included?
- Is the tour suitable for wheelchair users?
- What’s the cancellation policy?
Key tour takeaways
- Smooth, organized pickup and drop-off using three central Melbourne options
- Historic Split Point Lighthouse plus the soldier-built Memorial Arch for great context
- Lunch in Apollo Bay with real time to eat and reset, not just a quick walk-through
- Koala spotting at Barham Paradise Scenic Reserve during an eucalyptus walk
- Twelve Apostles and Loch Ard Gorge packed in as your signature photo stretch
Road Trip Rhythm: Picking Up in Melbourne and Settling In
This is a classic full-day, drive-and-stop tour: you leave Melbourne, hit the signature coastline sights, then come back the same day. It runs 12 hours, and it uses an air-conditioned coach—handy in summer heat and even nicer if the weather turns cool.
You’ll get one of three pickup points in the city: 220 Spencer St, 42 Russell St, or 270 Queen St. If you’re trying to keep your morning easy, pick the stop that’s closest to where you’re already headed anyway.
What makes this style work is the pacing. You’re not bouncing every five minutes, but you also don’t get stuck in a long scenic drive with nothing to do. Expect short, purposeful breaks: quick lookouts, photo stops, and then a real lunch window in a coastal town.
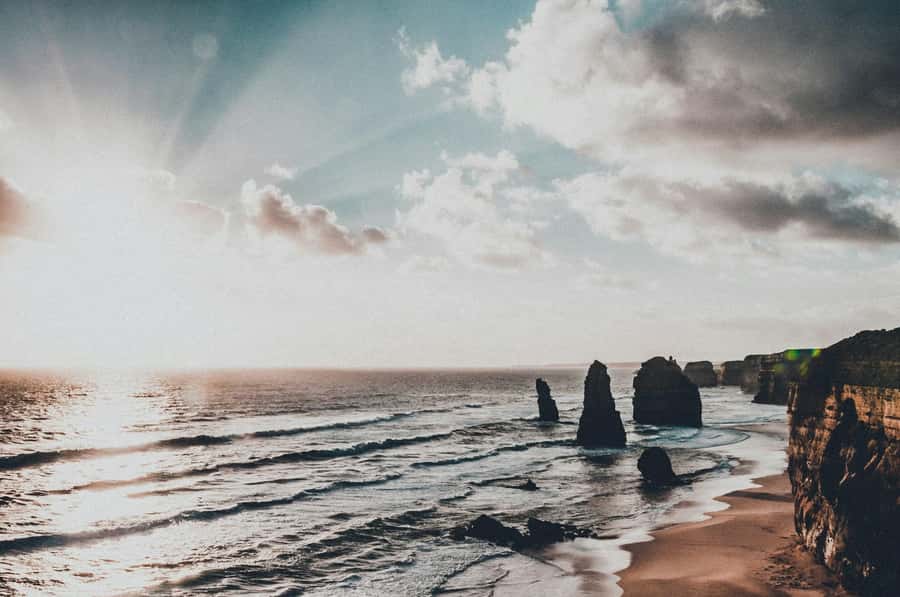
Bring practical expectations: this trip is built for seeing a lot of the coast in one day. If you’re the type who likes to do long hikes or linger for golden-hour sunsets, you’ll need a second day to go deeper.
You can also read our reviews of more tours and experiences in Melbourne.

Split Point Lighthouse and the Memorial Arch: The Start That Sets the Tone
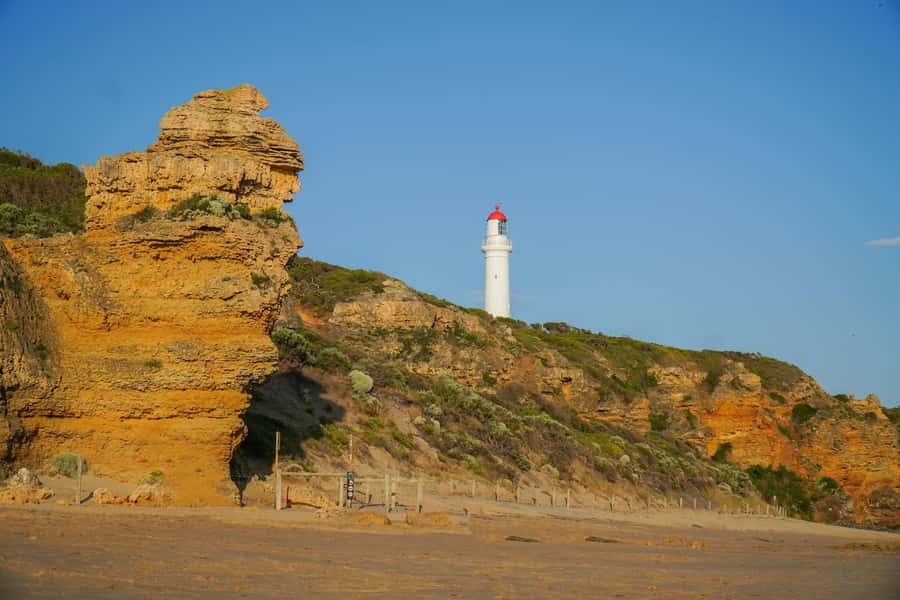
The day’s first major payoff is Split Point Lookout and Lighthouse. You get about 35 minutes here, which is long enough to absorb the view and still feel like you had a moment of calm before the famous names start stacking up.
The lighthouse is the visual anchor: red-and-white stripes, perched where the coast looks open and windy. It’s not just a photo prop. The stop includes the lighthouse’s maritime significance, so you understand what you’re looking at—coastline danger, navigation needs, and why lighthouses mattered so much.
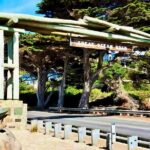
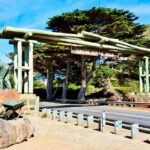
From there, you head to the Memorial Arch at Eastern View for a 20-minute photo stop. This one matters because it’s not only about the Great Ocean Road as a scenic drive. It’s also a tribute to the soldiers who constructed the route. Even if you’ve seen pictures before, it lands better once you’ve already seen the cliffs and ocean directly in front of you.
My advice here is simple: take your wide-angle shots early, then zoom in on details. You’ll spot plenty of people photographing the obvious angles, but fewer taking the time for the small “human” context—like the memorial aspect.
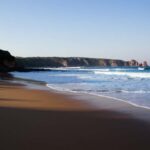
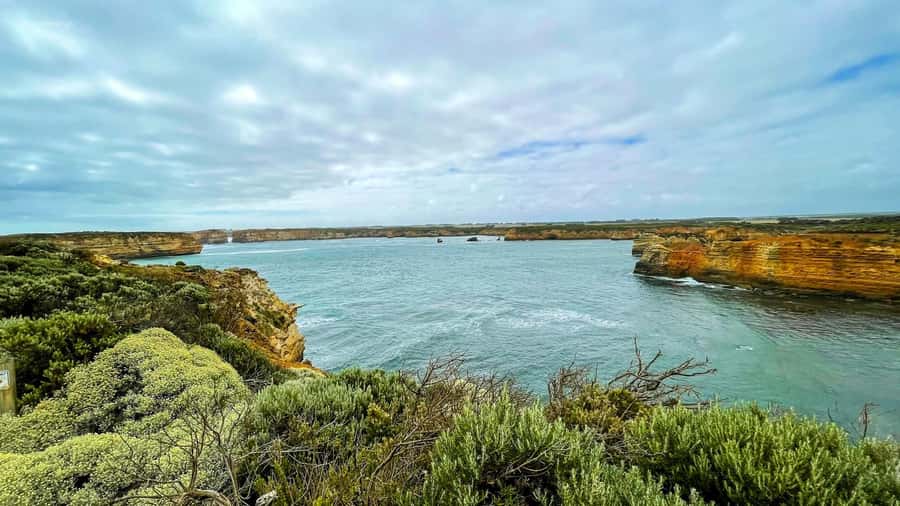
Lorne Photo Stop and Apollo Bay Lunch Hour: Coast Views Plus a Real Break
After the memorial, the day turns toward Lorne, with a photo stop of about 20 minutes. Lorne’s the kind of place where the ocean and beaches do most of the talking. The sea breeze helps too. Even if you’re not sure what to do with 20 minutes, you’ll find yourself standing still, trying to “just get one more angle” on the water.
There’s also a walk opportunity later in the day (about 30 minutes), so you’re not only looking from the bus. That balance keeps the trip from turning into nonstop staring through windows.
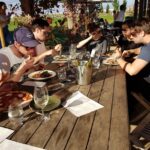
Then comes the best reset: Apollo Bay lunch. You get about 1 hour here, and you can choose from multiple dining options while enjoying sea views. This is one of the reasons this tour feels good value: you’re not just eating quickly in a rest stop parking lot. You get a real seaside town break where lunch can be part of the experience, not an interruption.
If you want the day to feel less rushed, do two things in Apollo Bay:
- Order fast, but don’t skip sitting down.
- Plan your next stop photos before you finish eating, so you don’t mentally scramble when you get back on the coach.
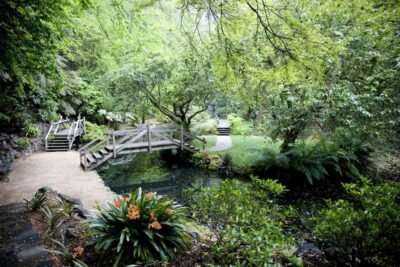
Barham Paradise Scenic Reserve: Eucalyptus, Wildlife, and Koala Chances
One of the most memorable parts of this day is the stop near Barham Paradise Scenic Reserve, where you’ll walk through eucalyptus trees. This is where the tour shifts from “icons” to “wildlife in a natural setting,” and it’s also where the day can surprise you.
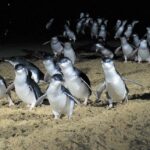
You get around 30 minutes for the walk, and the focus is on spotting native wildlife—especially koalas. To be clear: you’re not guaranteed a koala sighting on any outdoor walk. But the idea here is strong: you’re in habitat, not a zoo-style enclosure, and the eucalyptus setting makes the chance feel real.
This stop also has a practical bonus: it’s a change of pace after hours of driving and photo stops. Your legs get a break, your eyes get a different kind of view, and you come back to the coach with that satisfied feeling of having done more than just click a camera.
What to bring (nothing fancy): wear comfortable shoes for uneven ground and keep a light layer handy. Coastal weather can flip quickly, especially when you go from sea breeze to shaded eucalyptus areas.
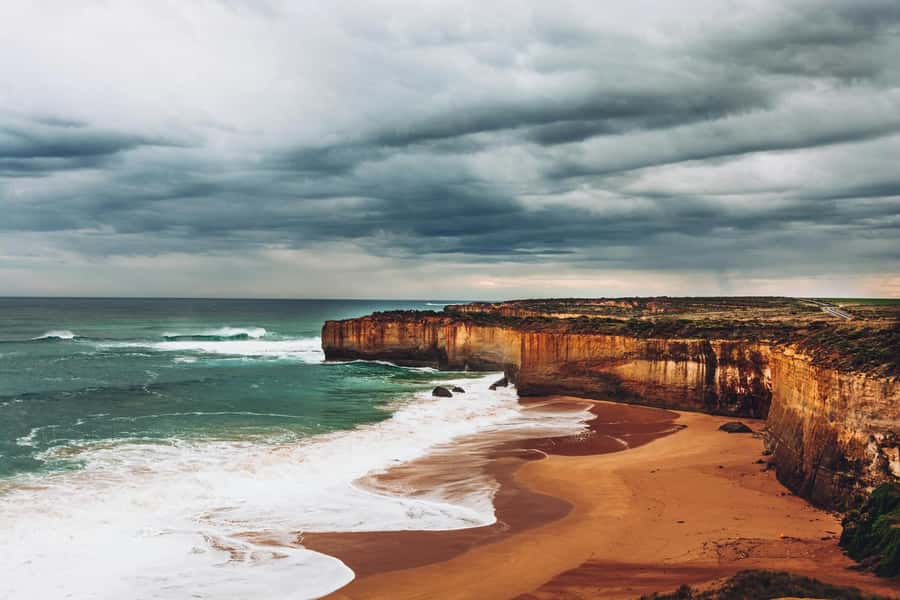
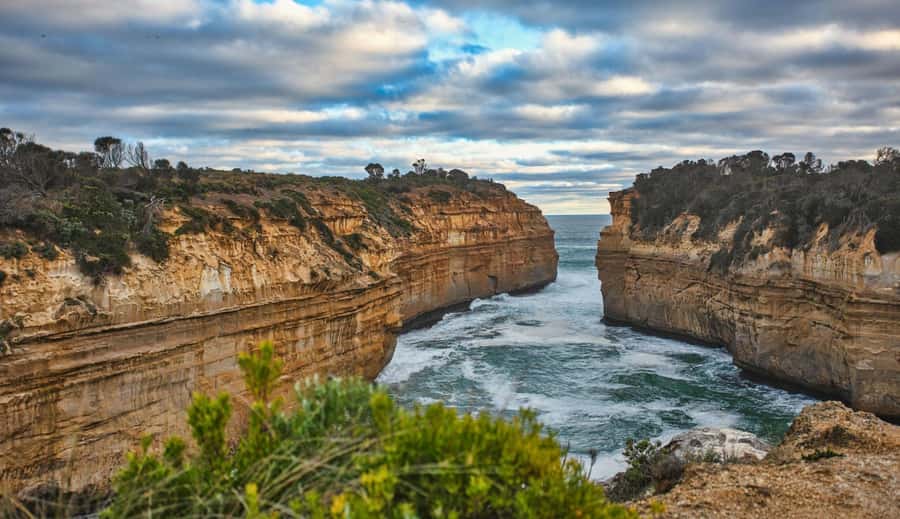
Twelve Apostles and Loch Ard Gorge: Your Main Photo Stretch
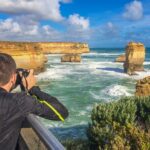
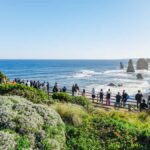
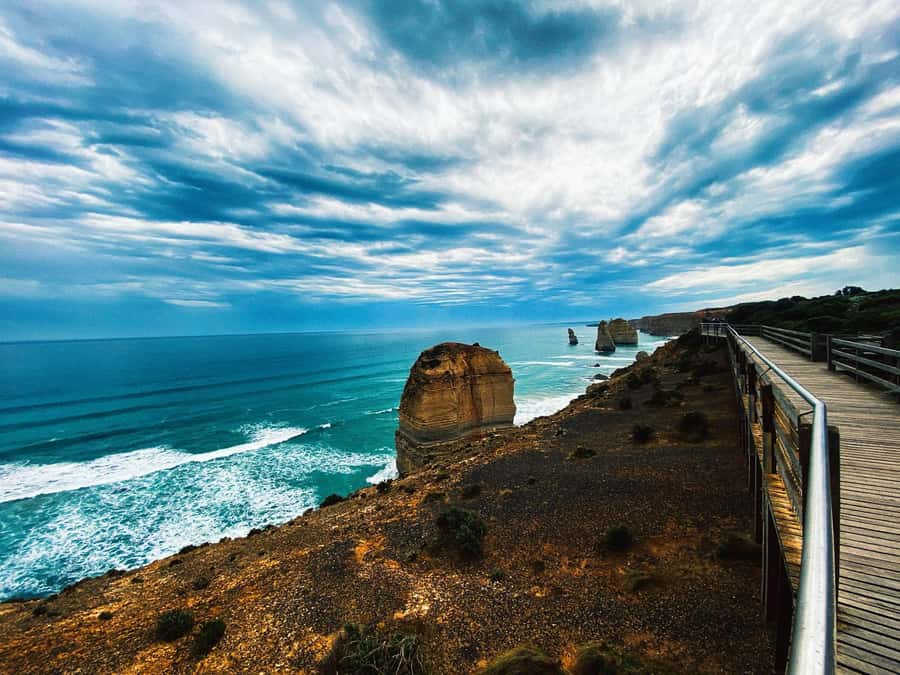
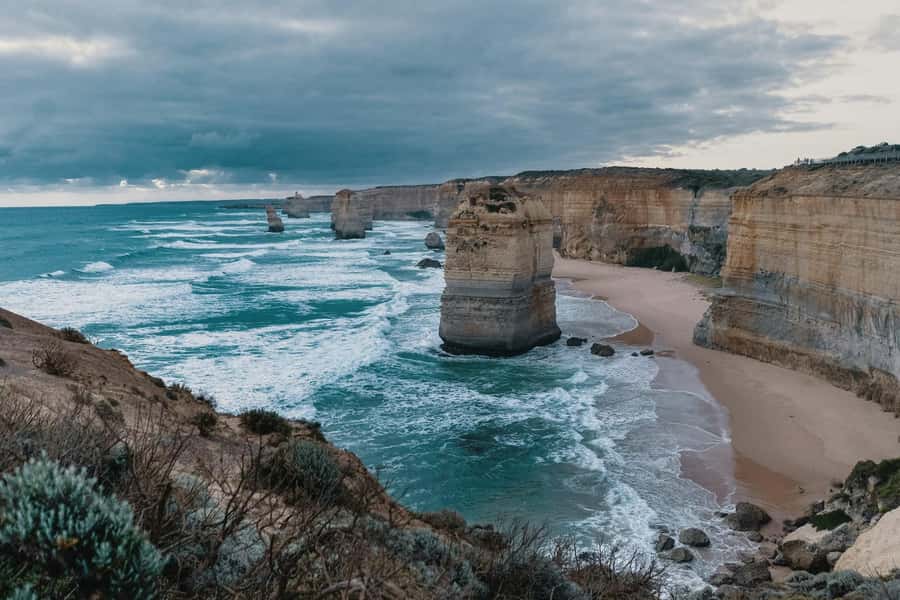
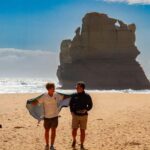
Now we reach the headline sequence. You’ll spend about 45 minutes at the Twelve Apostles and 30 minutes at Loch Ard Gorge. This is the part of the day that makes people book—those limestone formations rising out of the ocean are the kind of sight that looks unreal even after you’ve already seen it on screens.
At the Twelve Apostles, focus on getting your bearings first. There are viewpoints and walking paths that lead to different angles, and you may find yourself wanting to explore more than the time allows. One helpful approach is to pick one path you care about most, then circle back for a couple of key photos. You’ll get the variety without losing track of time.
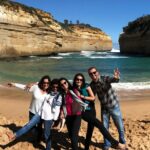
Then Loch Ard Gorge delivers the different flavor: dramatic cliffs plus a calmer, more focused “pocket” of coastline. The cliffs look sculpted by time and weather, and the gorge setting gives you that sense of scale that’s hard to capture without standing there in front of it.
If your phone camera battery is low, charge now. The day keeps delivering after these stops, and you don’t want to miss the best light because of a dead battery.


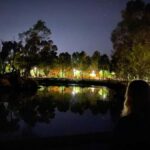
Winchelsea Refresh and the 3.5-Hour Return Drive to Melbourne
After the main sights, you’ll start heading back with one extra break: a quick stop in Winchelsea for a refresh before you return to Melbourne. It’s not a long detour, but it’s the kind of stop that helps you stay comfortable during the last stretch.
Then the schedule includes about 3.5 hours of bus/coach time back. This is where you settle in. If you’re prone to motion discomfort, bring what works for you. If you’re a photo editor, this is the time to cull shots and pick your favorites while everything is fresh.
This portion of the day can feel long, but it also gives the trip its “done” feeling. You get the full coast day without having to drive yourself, navigate stops, or coordinate parking. When you arrive back in Melbourne, you’ll feel tired in a good way—the kind of tired that means you actually used your day.
Price and Logistics: What $28 Gives You (and What It Doesn’t)
The price listed is $28 per person, with transportation, parking, fuel, toll fees, and the driver-guide included. Gratuities for the guide are also included, which is one less mental task during booking.
That value comes from the structure: you’re paying for a full day of driving, timed stops, and interpretation from a bilingual English/Mandarin driver-guide. In plain terms, you’re buying convenience plus context.
What’s not included is just as important. Food and drinks are on you. Lunch happens in Apollo Bay, but you’ll need to pay for what you eat there, along with any snacks you want for the road.
Also, this isn’t a fit if you use a wheelchair. The trip is not suitable for wheelchair users. And like most outdoor tours, it’s best done with the assumption that you’ll stand for views and walk short distances.
If you want to manage expectations, do this: plan to spend your budget mainly on your meals and small snacks. Then treat the scenery as the main “spend,” because it’s genuinely the point.
Driver-Guide Energy: Why the Day Feels Easy
A big part of the experience is how the day is run. The driver-guide model matters here because you’re not just being transported—you’re being guided between places that are visually similar at first glance (big ocean, big cliffs), but actually different when you know what you’re looking at.
Based on what people have described with guides like Vance and Tony, the best days are the ones where the guide keeps things moving and helps you get the photo you came for. Several people highlight how the guide was patient, friendly, and willing to help passengers take pictures—especially if you’re traveling solo.
There’s also a comfort angle: people call out smooth pickup and drop-off, plus a comfortable ride. If you’re picky about logistics, this kind of day tour usually succeeds or fails on organization—and this one looks built to reduce chaos.
Just remember the one-day reality: your time at the most famous spots is limited. So if you want “one perfect shot,” you’ll get it. If you want “hours of exploration at every viewpoint,” you may feel the pinch.
Who Should Book This Great Ocean Road Day Trip
This tour is a great match for you if:
- You want a first-time Great Ocean Road day without renting a car
- You like photo stops but still want some walking and wildlife time
- You’d rather follow a plan than stress over timing and parking
- You like the idea of bilingual guidance (English/Mandarin)
It’s also a good choice if you’re traveling solo. The driver-guide format tends to work well for people who want help getting a picture and don’t want to worry about coordinating with others.
I’d skip it if you want maximum flexibility. The route is fixed, and weather or road conditions can change timing. That’s normal for coastal roads, but it does mean you can’t “wing it” like you can with a rental car.
Finally, it’s not the best pick if accessibility is a key requirement, since it’s marked as not suitable for wheelchair users.
Should You Book It or DIY the Coast?
If your goal is iconic sights in one efficient day, I’d book this. Twelve Apostles, Loch Ard Gorge, Split Point Lighthouse, Lorne, Apollo Bay, and koala chances hit the big checklist without you doing the heavy lifting of driving and navigation.
DIY still wins if you want slow travel, long hikes, and zero schedule pressure. You’ll have more control over where you linger and which paths you explore at every stop.
But for most people—especially first-timers—this tour is the sweet spot. You get the dramatic coastline hits, a worthwhile lunch stop, and a wildlife walk that’s more than a token photo stop. The price is low enough that you can treat it as a paid day out, not a big investment gamble.
FAQ
FAQ
How long is the Great Ocean Road adventure?
It runs for 12 hours total.
Where are the pickup locations in Melbourne?
You can be picked up at 220 Spencer St, 42 Russell St, or 270 Queen St.
What’s included in the tour price?
Included are a bilingual driver-guide (English/Mandarin), pickup and drop-off at designated locations, air-conditioned transportation, toll fees, parking, and fuel, plus gratuities for the guide.
Is lunch included?
No. Food and drinks aren’t included. Lunch is scheduled in Apollo Bay with about 1 hour there.
Is the tour suitable for wheelchair users?
No, it’s not suitable for wheelchair users.
What’s the cancellation policy?
You can cancel up to 24 hours in advance for a full refund.