REVIEW · MELBOURNE
Melbourne to Adelaide 3 Day Tour via Great Ocean Road & Grampians
Book on Viator →Operated by Wildlife Tours Australia · Bookable on Viator
Wicked coastline, then the wild Grampians. This 3-day Melbourne to Adelaide tour strings together some of Victoria’s best scenery, from rainforest to limestone cliffs, with plenty of wildlife chances along the way. I like that it’s run as a small-group road trip with live commentary, not a rush-hour bus crawl.
Two things I especially like: you get the iconic Great Ocean Road highlights like the Twelve Apostles lookouts, plus you’re not stuck in traffic all day because the route balances short stops with guided walks. I also like the wildlife-focused timing, including Southern Wright whales at Logan’s Beach in season and koala-style spotting opportunities at the right reserves.
One watch-out: the accommodation is hostel-style dorms with shared bathrooms for two nights, and the walking is not just “stretch your legs” easy.
In This Review
- Quick hits for this Melbourne to Adelaide route
- Setting out from Melbourne: getting onto the road fast
- Eastern View to Apollo Bay: the coast’s opening act
- Twelve Apostles and Loch Ard Gorge: the iconic coast, at real viewing times
- Warrnambool overnight: where the coast turns into wildlife hours
- Tower Hill Wildlife Reserve: extinct volcano + wildlife + Aboriginal history
- Halls Gap and The Pinnacle: a small-town base before the Grampians hike
- Grampians day: MacKenzie Falls for the payoff, then lookouts and rock stairs
- Crossing west toward Adelaide: the drive that turns a route into a story
- Price and value: what $498.48 is really buying you
- What the small-group style changes (for the better)
- Meals, luggage, and weather: the practical stuff you can control
- Who this tour is best for
- Should you book this Melbourne-to-Adelaide tour?
- FAQ
- What’s the duration of the tour?
- What does the tour cost and what’s included in that price?
- Where do I start and where does the tour end?
- How many people are on the tour?
- Do I need to be fit for this itinerary?
- What type of accommodation is included for the two nights?
- Is vegetarian food available?
Quick hits for this Melbourne to Adelaide route
- Maximum 23 travelers on an air-conditioned small-group bus, so you’re not fighting for elbow room
- Guided Great Otway National Park rainforest walk plus other viewpoints and short hikes
- Twelve Apostles + Loch Ard Gorge for classic limestone drama along the coast
- Tower Hill Wildlife Reserve (an extinct volcano) where wildlife viewing and Aboriginal history intersect
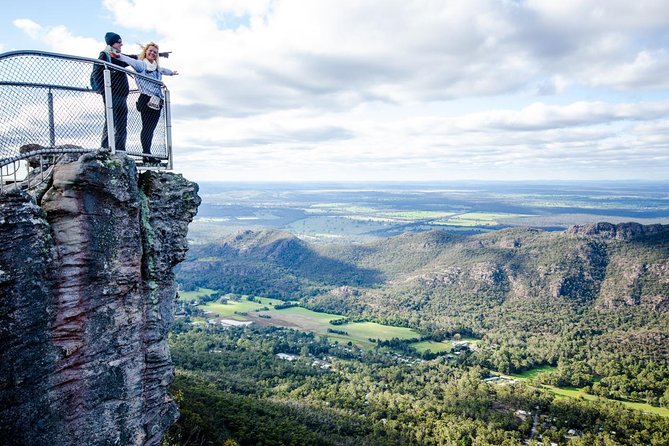
- Grampians walks including The Pinnacle, plus waterfall and rock-lookout stops
- Breakfast and dinner included twice, with other meal chances along the route
Setting out from Melbourne: getting onto the road fast
Your day starts early, with pick-up around 7:35am at the Immigration Museum on Flinders Street. From there, you’re in a small-group bus with air-conditioning and your driver-guide providing live commentary, which makes the drive feel more like a moving day out than a transfer.
The first stop on the Great Ocean Road side is the Memorial Arch at Eastern View. It’s a quick photo stop, but it’s a good moment to orient yourself before the coastline begins to take over the landscape.
If you hate rushing, this is still a sensible start, but you’ll want to pack smart for long days: water, a layer, and something for sudden coastal wind.
You can also read our reviews of more tours and experiences in Melbourne

Eastern View to Apollo Bay: the coast’s opening act
After the Memorial Arch, the tour keeps things light with a stop at Apollo Bay, a compact seaside town where you can get your first feel for the surf-and-salt vibe. It’s scheduled for about 30 minutes, which is just enough to grab a snack, stretch, and refocus before the national park portion.
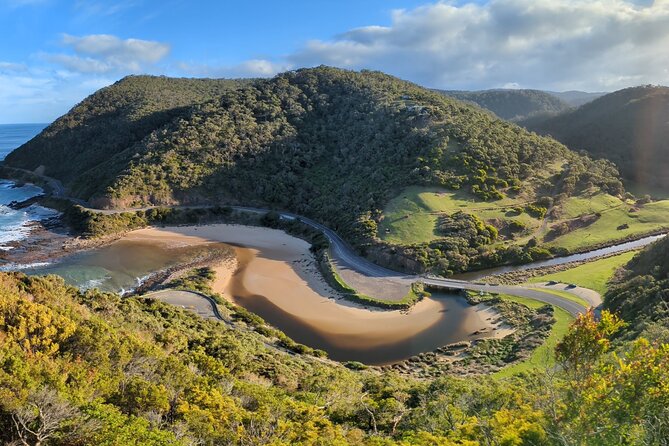
Then comes Great Otway National Park, with a guided rainforest walk. This is the kind of stop that makes the whole itinerary work: you’re not only chasing famous coastlines, you’re shifting into a cooler, greener mood before returning to ocean views.
Practical note: rainforest walks can mean wet ground and damp air even when the forecast looks fine. Bring footwear that handles slippery patches, and keep a light rain layer handy.
Twelve Apostles and Loch Ard Gorge: the iconic coast, at real viewing times
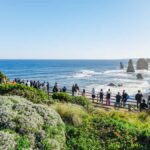
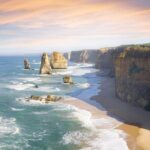
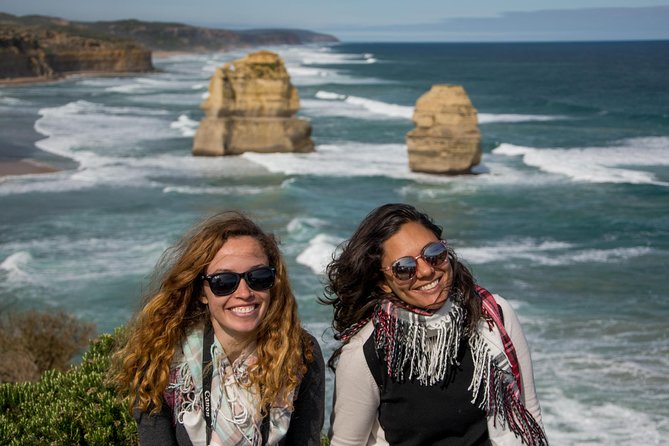
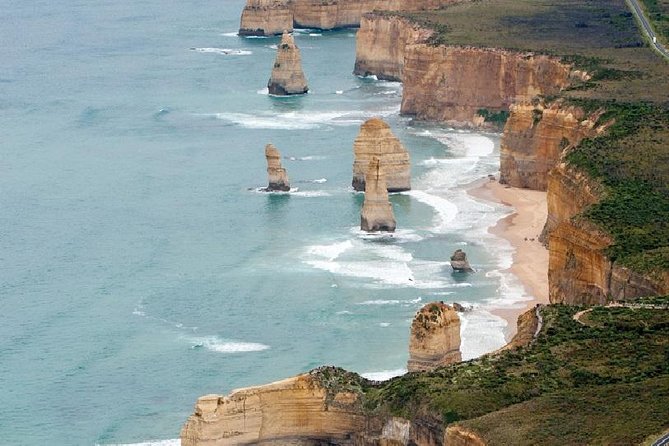
The heart of the Great Ocean Road day is the series of stops around the iconic limestone coastline. At The Twelve Apostles, you get time at the lookout—about 45 minutes—to take in the scale of the formations and the way the cliffs sit above the Southern Ocean.
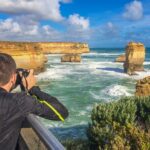
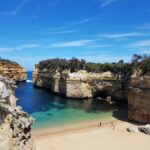
Next up is Loch Ard Gorge, with towering limestone cliffs and views over the gorge. This stop is shorter (around 20 minutes), but it’s a good pairing: Twelve Apostles gives you the headline view, while Loch Ard Gorge feels more intimate and cliff-close.
Here’s what makes these stops valuable for you: you’re visiting at set times with guided context, not just driving past and hoping you catch the right moment for photos. And because the itinerary includes multiple coastal points, you get more than one angle of the same geology story.
Tip for photos: coastal lighting changes fast. If you’re taking pictures, keep moving at a steady pace so you don’t get stuck waiting for the perfect sky while others are already done.
Warrnambool overnight: where the coast turns into wildlife hours
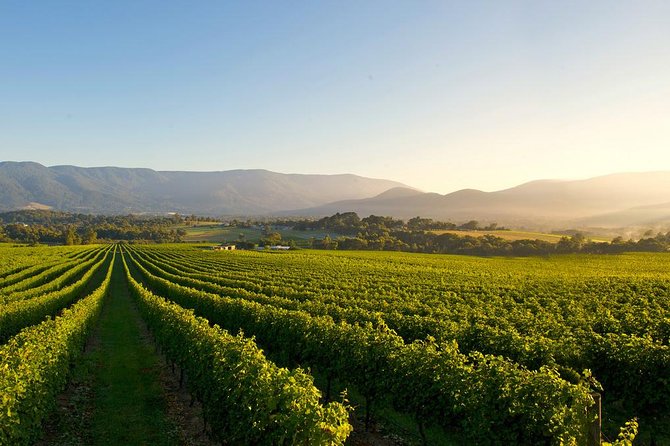
Day 1 ends with an overnight in Warrnambool, a coastal town built for cliff walks and sea views. Getting an overnight here matters because it turns the trip from a straight-line road transfer into an actual mini stay.
On Day 2 morning, you’ll do a clifftop walk and look for seals along the shoreline. If you’re lucky with conditions, this is one of those early-day moments where wildlife makes the whole route feel worth it.
The schedule also calls out Logan’s Beach during the Southern Wright whales’ birthing season (June to September). The tour data doesn’t guarantee sightings, but it does set you up at the right place in the right season—this is exactly how to maximize your chances on a short trip.
In short: Warrnambool isn’t just a bed for the night. It’s part of the wildlife plan, and that changes the feel of the tour.
Tower Hill Wildlife Reserve: extinct volcano + wildlife + Aboriginal history
Tower Hill Wildlife Reserve is where Day 2 grows teeth—in a good way. This stop is about an hour and focuses on an extinct volcano setting with wildlife viewing and Aboriginal history connections.
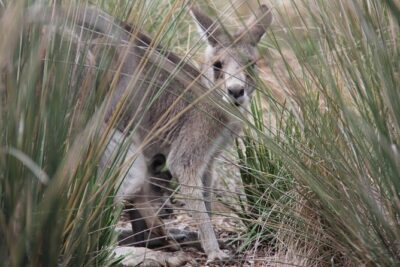
I like this stop because it’s a different style of nature than the coastline: less wind, more “look around and scan” wildlife spotting. It also breaks up the day before you head toward the Grampians.
Even if you don’t spot a lot, the terrain and crater-like setting help you understand why conservation reserves matter here. And if you do spot animals, it tends to feel more personal than a big-ticket zoo-style experience.

Halls Gap and The Pinnacle: a small-town base before the Grampians hike
After Tower Hill, you reach Halls Gap, scheduled for about 45 minutes. It’s the kind of rural base that makes sense for a short tour day: coffee, a quick walk, and a reset before going deeper into Grampians National Park.
Then you tackle The Pinnacle, with about an hour hike to the viewpoint. This is one of the few parts that tests whether the tour matches your fitness. The itinerary calls for a moderate level of fitness overall, and The Pinnacle is one of the clearest examples where you’ll feel your legs work.
If you’re the type who likes big views and doesn’t mind climbing at an honest pace, this stop is a highlight. If you’d rather do scenery without active walking, you’ll still enjoy the viewpoints, but you might feel how packed the schedule is once you’re on trail.
That night, you stay in Halls Gap, right in the heart of the Grampians region.
Grampians day: MacKenzie Falls for the payoff, then lookouts and rock stairs
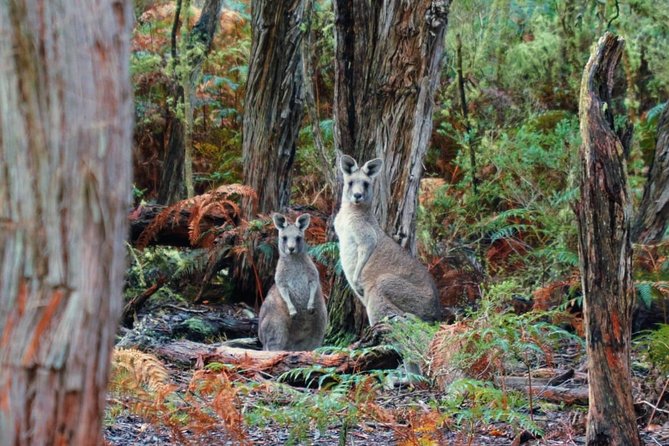
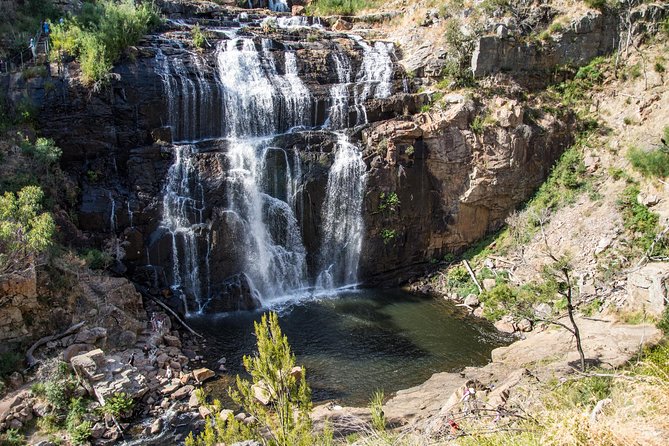
Day 3 starts with MacKenzie Falls, with time to go down to the bottom of the waterfall (about 45 minutes). This is a great payoff after the earlier viewpoint work. You don’t just look at nature from above—you get closer to the force of it.
After that, the tour heads to Reed Lookout (about 25 minutes). It’s a classic “stop and breathe” viewpoint break: enough time to get your bearings and appreciate how the park spreads out.
Then you finish with The Balconies, walking out to an iconic rock structure above Victoria Valley (about 25 minutes). This is another stop where the trail portion is manageable, but you should still wear shoes with good grip.
What I think you’ll like here is the mix: waterfall first, then wide views, then a rock structure that gives you a dramatic final impression. It’s built to close the circuit between “where the water goes” and “where you can see the country.”
Crossing west toward Adelaide: the drive that turns a route into a story
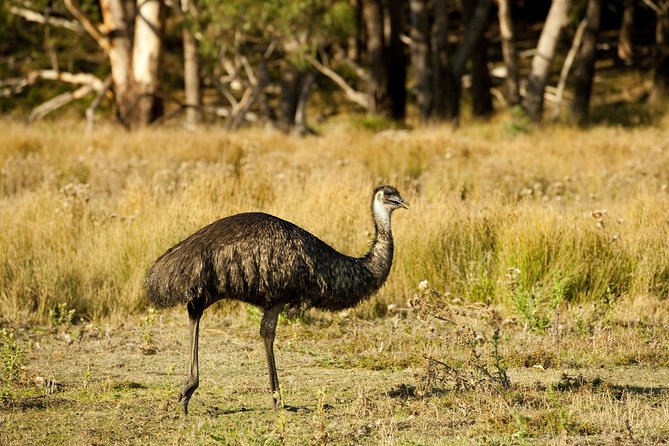
Once you leave the Grampians area, the tour travels west toward Horsham and then crosses the Victorian and South Australian border. Your arrival into Adelaide is scheduled for around 7:30pm, with the tour rolling back to your pick-up point.
This timing matters. If you’re catching a later dinner or a night activity, you’ll have enough time to shower and reset without feeling like the day ended at midnight.
It also means you’ll likely arrive tired-but-happy. Three days like this compress a lot, and that final long drive helps smooth out the last stretch.
Price and value: what $498.48 is really buying you
At $498.48 per person, this tour isn’t the cheapest way to travel between Melbourne and Adelaide. But it’s also not a generic “bus only” transfer.
You’re paying for:
- A guide with live commentary throughout the trip
- Park entry fees and itinerary-based stops across the Great Ocean Road and Grampians
- Two nights of hostel dorm accommodation with shared bathrooms
- Two breakfasts and two dinners included (and the rest covered by meal stops you can choose)
That combination is why it can be good value. You save on entry fees you’d otherwise pay separately, and you get structure so you’re not guessing which lookouts to prioritize on a tight timeline.
Where value can slip is if you strongly prefer private rooms or if you hate hiking at all. In that case, the hostel-style setup and active parts may feel like a mismatch for your comfort.
What the small-group style changes (for the better)
This tour caps at 23 travelers, which is a real difference compared to huge coaches. It tends to mean you get quicker board-and-exit at stops and less waiting around when the group needs to regroup.
The other quality piece is the experienced driver-guide with live commentary. Even when the stops are short, you’re not just looking; you’re learning what you’re seeing—especially helpful for areas like Tower Hill, where the extinct volcano setting changes the way you read the terrain.
And because the tour uses a mobile ticket, you’re less likely to run into day-of confusion.
Meals, luggage, and weather: the practical stuff you can control
Meals are partially included: breakfast (2) and dinner (2). Other meals aren’t listed, but you’ll have chances along the way. If you have dietary needs, the tour data says vegetarian options are available if you tell the operator at booking.
Luggage is where you’ll want to be disciplined. You’re allowed one suitcase and one carry-on bag, and bus storage is limited. Oversized items like surfboards, golf clubs, or bikes may face restrictions.
Weather is another real factor. The tour runs in all weather conditions, so you should dress for changing conditions—especially on the coast where wind can cut through even on decent days.
Who this tour is best for
This works best if you:
- Want a structured 3-day route instead of planning multiple day drives
- Like a mix of big photo lookouts and shorter guided walks
- Are okay with hostel dorm-style accommodation for two nights
- Have a moderate fitness level and can handle a hike like The Pinnacle and trail time at waterfalls/lookouts
If you’re traveling solo, this style can feel social without being chaotic—just remember the pace is packed because it’s designed to cover both the Great Ocean Road and the Grampians in a short time.
Should you book this Melbourne-to-Adelaide tour?
I’d book it if your goal is to get the Great Ocean Road icons and the Grampians highlights in one tidy package, with a guide handling the timing and park logistics. The combination of Twelve Apostles + Loch Ard Gorge, plus Grampians viewpoints like The Balconies and MacKenzie Falls, hits a lot of the “worth it” boxes fast.
I wouldn’t book it if you want a relaxing, low-walking experience or you strongly need private accommodation. The dorm setup and moderate hikes are part of the deal here.
If you match the fitness level and don’t mind sharing bathrooms, this is a solid way to turn Melbourne-to-Adelaide travel into an actual sightseeing plan, not just a commute.
FAQ
What’s the duration of the tour?
It runs for about 3 days.
What does the tour cost and what’s included in that price?
The price is $498.48 per person. Included are two nights hostel dorm accommodation (shared bathroom), park entry fees, live commentary from an experienced driver-guide, air-conditioned small-group bus travel with Melbourne pick-up and Adelaide drop-off, plus breakfast (2) and dinner (2).
Where do I start and where does the tour end?
You start at Immigration Museum, 400 Flinders St, Melbourne VIC 3000 (pick-up around 7:35am) and you end in Adelaide. Arrival into Adelaide city is approximately 7:30pm.
How many people are on the tour?
The tour has a maximum of 23 travelers.
Do I need to be fit for this itinerary?
A moderate fitness level is required for the walks involved.
What type of accommodation is included for the two nights?
You’ll stay in hostel dormitory accommodation with shared bathroom facilities for two nights. Accommodation upgrades are not available online.
Is vegetarian food available?
Yes—vegetarian meals options are available if you advise the operator when booking.