REVIEW · MELBOURNE
Melbourne: Great Ocean Road Luxury Coach Reverse Tour
Book on Viator →Operated by Wild OZ Adventures · Bookable on Viator
Great Ocean Road hits different from a coach. This luxury day trip from Melbourne takes the stress out of driving while still stacking the big coastal sights—then adds wildlife and quieter stops you won’t stumble into on your own.
I especially like the way the route works in eye-level photo moments, from the Split Point Lighthouse area to the famous limestone stacks out at the 12 Apostles. I also like the comfort factor of an air-conditioned vehicle for a long day, plus a lunch stop in Apollo Bay where you can slow down and eat on your terms. The one drawback to think about: it’s about 13 hours total, and meals aren’t included, so you’ll want to plan ahead with snacks and water.
In This Review
- Key Highlights You’ll Feel Immediately
- Luxury Coach Comfort for a 7:30am Start
- Split Point Lighthouse and Memorial Arch: Two Stops That Set the Tone
- Teddy’s Lookout: Where the Views Go High
- Apollo Bay for Lunch: A Real Break From Constant Sightseeing
- Loch Ard Gorge and the Twelve Apostles: The Icon Block
- Great Otway National Park: Wildlife and Rainforest Meets the Sea
- Price and Value: What $84.63 Covers on a 13-Hour Day
- Who This Tour Is Best For (and Who Should Skip It)
- Weather Matters: When the Coast Is Wild
- Should You Book This Great Ocean Road Luxury Coach Tour?
- FAQ
- How long is the Great Ocean Road luxury coach reverse tour?
- What time does the tour start and where is the meeting point?
- How much does the tour cost?
- What’s included in the tour price?
- Are meals included?
- Which major sights are included?
- How long do the main stops last?
- What’s the maximum group size?
- What if the weather is bad?
Key Highlights You’ll Feel Immediately
- Split Point Lighthouse, the White Queen stop for classic Great Ocean Road coastline photos
- Memorial Arch at Eastern View as the quick “you’re here” photo gateway moment
- Teddy’s Lookout for big, high viewpoint time early in the day
- Apollo Bay break: about an hour to regroup and buy lunch by the sea
- Loch Ard Gorge and the shipwreck cliffs in one focused sightseeing block
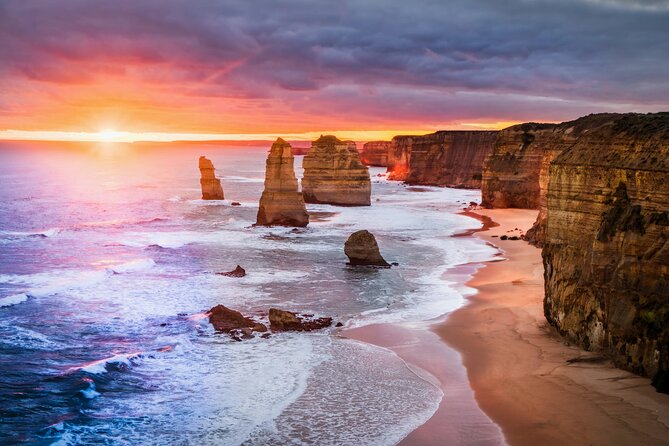
- 12 Apostles visit time for the signature limestone views with time to take it in
Luxury Coach Comfort for a 7:30am Start
You start in central Melbourne at 52 Spencer St and roll out at 7:30am. The full day runs about 13 hours, which is long, but it’s designed to keep you moving between key sites without you doing any driving or navigation.
This tour caps at 50 travelers and uses an air-conditioned vehicle. That matters. Photo stops feel faster when you’re all crammed for the same angle, and they feel smoother when the group size stays manageable.
The guide experience is part of the value. In the write-ups I’ve seen, people call out guides like Daniel and Leon for being friendly and for helping the day run well—Leon even offered to take photos for solo travelers. If you want someone to handle the flow and make sure you get your shots, this kind of day-trip setup is a good match.
You can also read our reviews of more tours and experiences in Melbourne


Split Point Lighthouse and Memorial Arch: Two Stops That Set the Tone

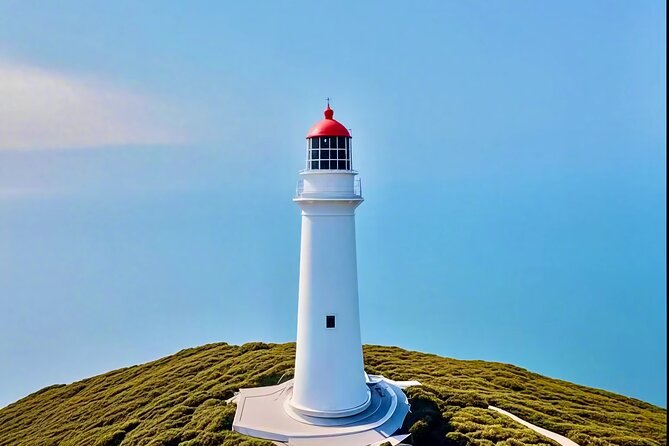
The first stop is Split Point Lighthouse, nicknamed the White Queen. It’s tall—about 34 meters—and it’s famous for showing up in the TV series Round the Twist. Even if you’re not a superfan, it’s a recognizable piece of the coast and a great early “yes, I’m on the Great Ocean Road” moment.
You’ll get around 20 minutes here, and the good news is entry is free. That means your time isn’t eaten up by lines or tickets. Plan for a short walk around the viewing area and grab your first “wide coast” photos before the day turns into a stack of cliff and sea views.
Next up is the Memorial Arch at Eastern View. This is the symbolic gateway to the Great Ocean Road, honoring the World War I soldiers who built the route. It’s a quick 15-minute photo stop, also free, but it’s worth taking seriously for the meaning—and because it’s a clean, easy marker for where your day starts.
Teddy’s Lookout: Where the Views Go High
After the gateway and coastline lighthouse time, you’ll head to Teddy’s Lookout. Expect about 15 minutes and know this is described as the tour’s highest point.
Why that matters: the Great Ocean Road is all about layers—cliffs, water, and the angle of the coastline. A high viewpoint can make the rest of the day feel bigger, even when you’re seeing the same ocean. It also gives you a different kind of photo—more “over the coast” and less “at the coast.”
This is the kind of stop where you’ll get more out of it if you move with purpose. Stand where the view is open, take your photos quickly, then check other angles around the lookout.
Apollo Bay for Lunch: A Real Break From Constant Sightseeing
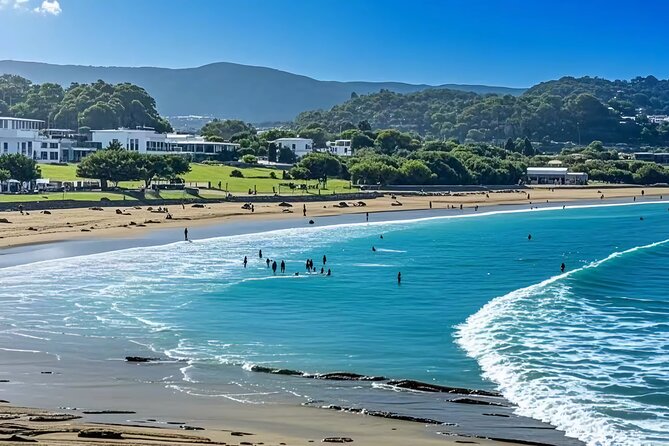
You’ll spend about 1 hour in Apollo Bay. This is a seaside town tucked between the Otway Ranges and the Southern Ocean, so it’s a natural place to pause after a string of viewpoints.
Apollo Bay is also the practical part of the day. The tour says meals aren’t included, but it does include time for a leisurely lunch stop. So you’ll be choosing where to eat and what to order, which can be a plus if you have dietary needs or you just want something simple.
In a full-day coach itinerary, one hour is usually just enough to:
- find a café or fish option you like
- eat without rushing
- use the break to reset before you go back to the cliffs
Tip: if you’re trying to keep the day comfortable, treat lunch as a real meal, not a snack. A long day on the coast can make you hungry fast, and you don’t want to rely only on what’s convenient at the last stop.
Loch Ard Gorge and the Twelve Apostles: The Icon Block
This is where the Great Ocean Road reputation earns its keep.
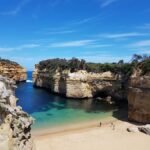
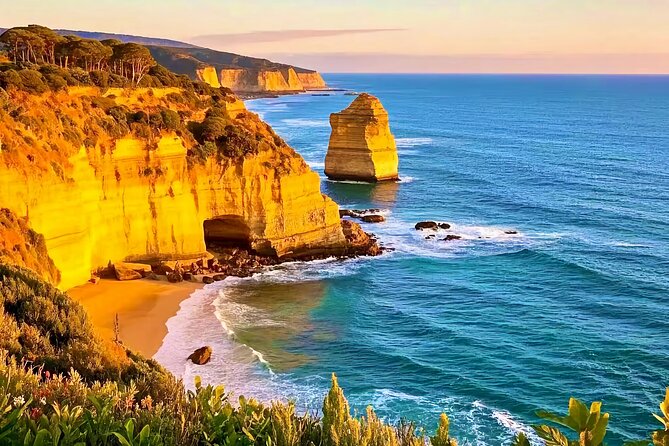
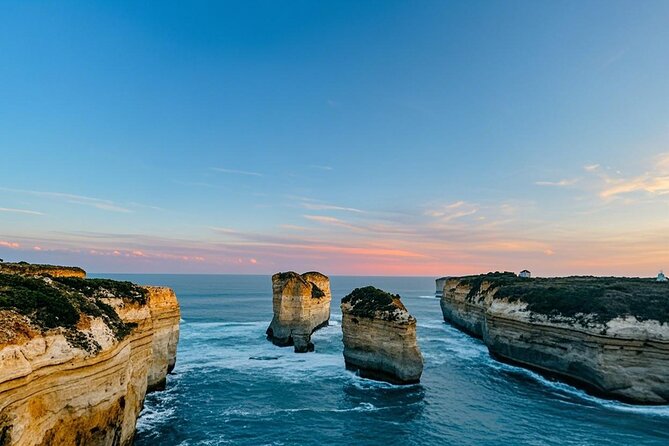
You’ll stop at Loch Ard Gorge for about 20 minutes. The highlight here is the dramatic cliff-and-water view tied to shipwreck history, specifically the 1878 Loch Ard shipwreck. The water and cliffs combination is what you’ll remember: steep sides, bright water, and that “how did anyone survive this?” feeling that comes with the story.
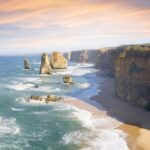
Next is the Twelve Apostles. You’ll get about 1 hour here, and this is the headline act—limestone stacks rising from the Southern Ocean. Even though it’s called the Twelve Apostles, only seven remain due to erosion, and that’s part of what makes the place feel alive. Nature is actively changing the coast while you’re standing there.
A whole hour sounds like a lot, but it can disappear if you’re only taking one kind of photo. Do this instead: spend the first part getting your wide shots, then switch to angles that show the scale of the stacks against the ocean. If the wind is strong, you’ll also appreciate having enough time to wait out the gusts and still get a clean photo.

Great Otway National Park: Wildlife and Rainforest Meets the Sea
Between Apollo Bay and the longer icon stops, the route includes Great Otway National Park. This part is framed as rainforest meeting the sea, and it’s described as a biodiverse area with waterfalls, ancient trees, wild coastlines, and iconic wildlife.
One detail that can make this portion especially exciting: you may spot wild koalas in their natural habitat. The wording here is important—you’re not guaranteed an animal sighting—but it’s clearly part of the tour’s appeal.
What you can reasonably expect in this stop is nature time, not a rushed “drive-by.” In tours like this, the value is that someone is bringing you to the right patch of the Otways rather than you trying to guess where to pull off and park.
If you enjoy short walks and quick lookouts, this is the moment to slow down. Bring layers if the air feels cooler under trees, and take a moment to look upward too. Many of the best Otways views aren’t only at eye level.
Price and Value: What $84.63 Covers on a 13-Hour Day

At $84.63 per person, this tour can feel like a bargain—or like a fair deal—depending on what you’d do on your own.
Here’s why the price works:
- You’re paying for a luxury coach with an air-conditioned ride for an all-day loop.
- Entry and fees are included as part of the tour setup, and the major stops are listed as free admission tickets.
- Parking fees and a fuel surcharge are covered, so you’re not adding “surprise costs” once you’re on the road.
- You’re getting guided context at multiple sites, not just a shuffle between pull-offs.
What’s not included: meals. That’s the big practical trade. But because Apollo Bay has a real lunch window, you can still manage costs by choosing a casual option that fits your budget.
If you’re traveling without a car, the value is clearer. Hiring a driver or renting for a full day usually costs more, and then you still have the headache of parking and route planning. This turns the day into a fixed, timed plan with minimal effort.
Who This Tour Is Best For (and Who Should Skip It)
This tour is ideal if you want:
- the main Great Ocean Road icons—Loch Ard Gorge and the 12 Apostles—without doing the driving
- a comfort-first day plan with an air-conditioned vehicle
- photo stops designed to cover different angles and viewpoint types
- a lunch break in Apollo Bay rather than eating on the move
It’s also a good fit for solo travelers. One of the guide write-ups highlights how Leon offered to take photos for someone traveling alone, which is the kind of small service that makes a difference.
You might skip this tour if:
- you hate long days and prefer staying in one area
- you want strict meal inclusion (here, meals are not included)
- you want a slow travel pace with lots of unstructured walking at each site
The good news: most travelers can participate, and the tour is designed to fit people who want “see the coast” without turning the trip into a logistics project.
Weather Matters: When the Coast Is Wild
This is a coast day, so good weather is required. If the weather is too poor and the tour gets canceled, you’ll be offered a different date or a full refund.
That’s not just fine print—it changes the whole experience. Cliffs can still look dramatic, but heavy rain and poor visibility can make viewpoints feel gray and flat. If you book, treat the day like a weather-dependent outdoor outing, not a guaranteed postcard parade.
Bring practical items. Even with a coach and short stops, you’ll want a way to stay comfortable if it’s breezy or cooler than expected.
Should You Book This Great Ocean Road Luxury Coach Tour?
If your goal is a single-day hit list of the Great Ocean Road’s most famous sights—with comfort, good timing, and staff who help the day run smoothly—this tour is a solid choice. The value comes from the mix: lighthouse start, WWII gateway photo stop, a high viewpoint, a real Apollo Bay lunch window, and then the big two at Loch Ard Gorge and the 12 Apostles.
I’d especially recommend it if you don’t have a car, you want structure, or you’d rather spend your energy taking photos than planning routes. The one reason to hesitate is simple: you’re committing to a long 13-hour day, and you’ll need to handle meals yourself.
FAQ
How long is the Great Ocean Road luxury coach reverse tour?
It runs about 13 hours.
What time does the tour start and where is the meeting point?
It starts at 7:30am from 52 Spencer St, Melbourne VIC 3000, and ends back at the meeting point.
How much does the tour cost?
The price is $84.63 per person.
What’s included in the tour price?
It includes an air-conditioned vehicle, parking fees, admission/entrance fees, and a fuel surcharge.
Are meals included?
No, meals are not included. Lunch time is built into the Apollo Bay stop.
Which major sights are included?
You’ll visit Split Point Lighthouse, Memorial Arch at Eastern View, Teddy’s Lookout, Apollo Bay, Loch Ard Gorge, and the Twelve Apostles, plus a stop at Great Otway National Park.
How long do the main stops last?
Split Point Lighthouse is about 20 minutes, Memorial Arch about 15 minutes, Teddy’s Lookout about 15 minutes, Apollo Bay about 1 hour, Loch Ard Gorge about 20 minutes, and the Twelve Apostles about 1 hour.
What’s the maximum group size?
The tour has a maximum of 50 travelers.
What if the weather is bad?
The tour requires good weather. If it’s canceled due to poor weather, you’ll be offered a different date or a full refund.